
How To Bundle Dye-PART 2
- Michelle Moore

- Jan 16, 2022
- 6 min read
Updated: May 26, 2022

So lets get a few things straight...
Natural dyeing is very complex topic that is filled with science and chemistry. That being said this does not mean that you shouldn't experiment with it, and explore the art form. Like any art, you can go as deep into the form as you desire, but starting simple is always best. I never believe in discouraging anyone from trying something just because they don't have all of the info yet. I believe that we learn by doing, discovering, and deciding if we want to dive deeper. SO go give it a try, see if you enjoy it- if you do, buy a book, learn more and keep it going.
In this post I am going to break it down to a very simple and easy way for you to get started with natural dyeing in a simple, correct, and effective way.
Firstly, when done correctly, natural dye will be as colorfast as ANY dyed garment that you own. This means that the following happened:
You scoured/thoroughly cleaned your fiber before dyeing it
You acknowledged which natural fiber you are working with and pretreated the fiber accordingly-meaning you used a tannin and mordant. (Mordant: a substance, typically an inorganic oxide, that combines with a dye or stain and thereby fixes it in a material.)
You used a natural dye that is known and tested to be color and light fast. Meaning the color can withstand washing and sunlight. (Lots of natural dye books cover this topic very throughly and will tell you very specifically how fast your dyestuff will be.)
When these three items come together they make for a beautiful and long lasting natural dye results...please notice I never mentioned the use of salt + vinegar which is wildly miscommunicated throughout the internet as a way of fixing natural dye. When I was starting out I must of read that salt and vinegar fixing technique a hundred times. It wasn't until I purchased the book Botanical Inks by Babs Behan(which is still one of my favorites). She really breaks it all down very simply- and I love that. Simple, and effective with room for adding your own creativity.
The way that I will explain to pretreat your fiber can also be used as pretreatment for the Hammered Flower technique (more on that in another post)

So why Bundle Dye? Bundle dyeing is the act of combining lots of natural elements together on to one fabric, rolling and bundling them together to create one magical creation of color extraction. When you combine lots of elements, you will be left with some colors that are VERY colorfast and others that are way less- and as you wash your piece this will become more clear. And as you do it more, you will start to learn and understand which botanical elements make which color, and which hold up better than others...and so on. It's also so unexpected that even when you know all of these things- the outcome could still be different every time which makes it exciting and fun.
I like to combine dyestuff that is very colorfast with bits of other that are less. I like the transition, blending, and fading that happens as the piece is worn. It's a desirable fade, not a like when your favorite black tee loses its color and just looks meh.
Flowers range in fastness. Barks, roots, and insects (yes, insects like cochineal and lac) tend to be the most fast. But not always true. I don't want to go to deeply into this because I think that the fun of this medium is the exploration in various elements.
Ok- so enough on that. Let's get your favorite tee, or pair of socks ready to be dyed.
What You’ll Need:
*Please note that you should always keep your dye pots and tools separate from the tools you cook with. Natural does not always mean non-toxic.
Fabric (T Shirt, Socks, or whatever you would like to dye(fiber content is important — as a rule, natural dyes do best with natural fibers.
Alum Potassium Sulfate (Linked here on Botanical Colors)
Tea Bags (Preferably black tea)
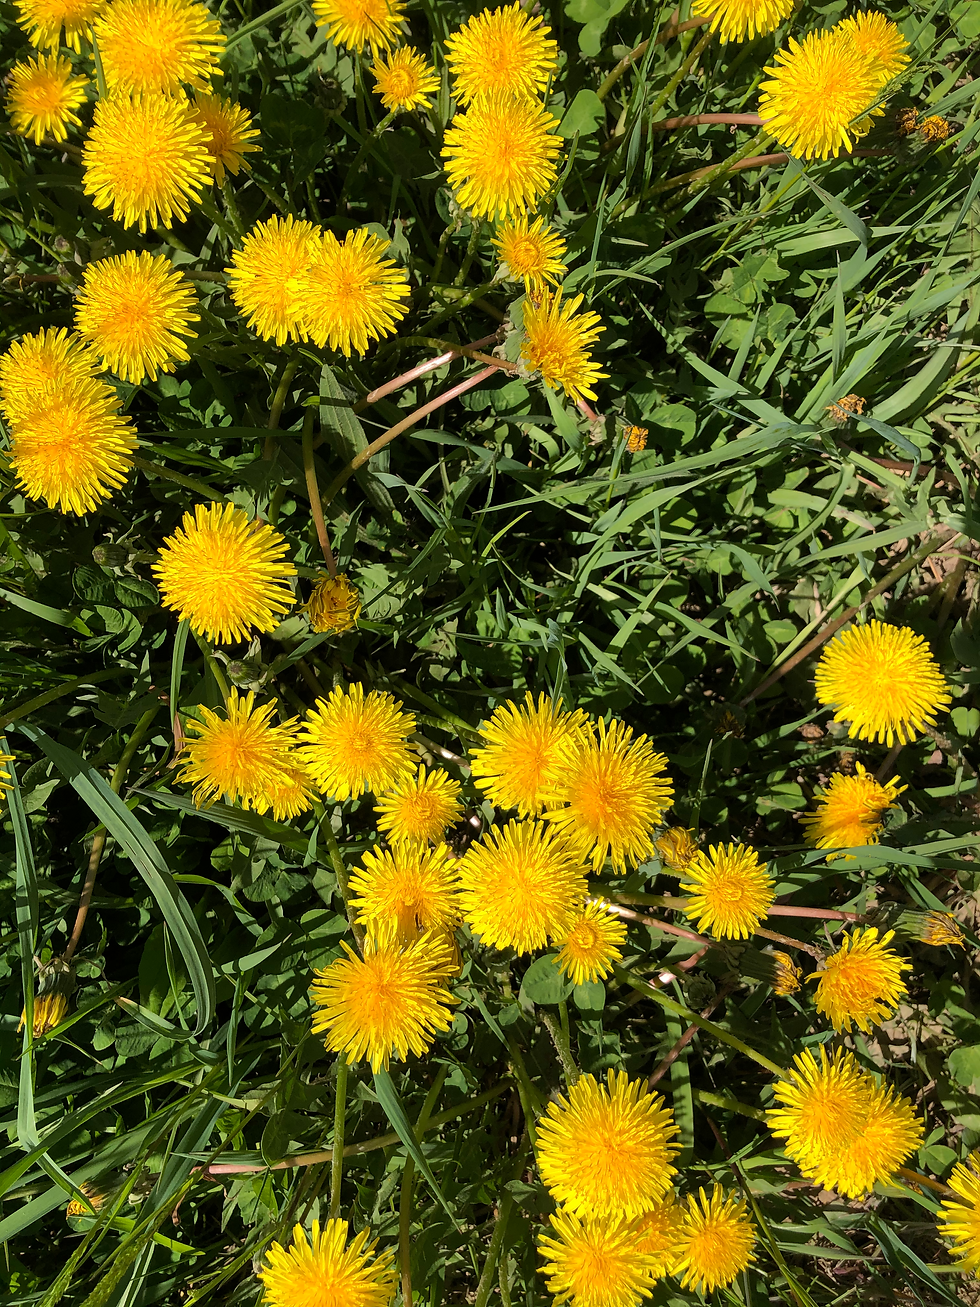
Botanicals (onion skin, dried plant matter, flowers, avocado skins — anything you would like to try)
Steamer or steamer basket
Rubber bands or string to tie your bundle
Rubber gloves
A stainless steel pot
(Optional) Kitchen Scale- To weigh your fiber
Firstly and most importantly. You must work with a natural or mostly natural fabric. Think cotton, linen, bamboo, hemp, silk, wool (no poly, nylon, etc.)...read the label and know the contents. If you are buying or using a thrifted piece it's not always clear what the fiber is- so if you aren't sure it is best to skip that piece for now. If you buy fabric by the yard at the fabric store you can read the fiber content on the bolt of fabric.
Once you have found your perfect piece it's time to scour it. You can go about this in a few ways, but the simplest is to use the sanitize function on washer with a good PH neutral detergent and send it through a few times on the hottest water setting. This step is always important but if you are using a piece that is new, this step is critical because the fabric most likely contains waxes, chemicals, and other elements that will stop the dye from penetrating into the fiber. Never dye fabric that hasn't been throughly cleaned. Don't skip this step.
After the piece is scoured and dried you can pull out your kitchen scale and weigh the fiber.
This will give you your Weight Of Fiber or WOF. Once you have that number you will use a percent of that to inform how much tannin and alum you will need.

Next, we will soak the fiber in a tannin. There are TONS of great options for this including pomegranate skins, leaves from trees, and oak galls- for this simple at home project I am recommending tea bags as a great place to start.
Why tannin? Plant fibers don't have a natural affinity to natural dyes, not like animal fibers do. So by using a tannin after scouring and before applying the mordant you are better preparing the garment for natural dye.
Tannin:a yellowish or brownish bitter-tasting organic substance present in some galls, barks, and other plant tissues, consisting of derivatives of gallic acid, used in leather production and ink manufacture.)

Next, Steep your tea bags in a pot with enough hot water to cover your shirt. Remove tea bags once fully steeped. Next, take the already wet shirt from the washing machine and place it in the tea bath. For example, I am using 3 tea bags for one cotton shirt. Allow the t-shirt to sit overnight, or for at a minimum of 3-4 hours. Remove the shirt and rinse in cool water.
Next, dissolve your alum in hot water. Using 15% of the weight of fiber (WOF). Then, fill a pot with enough hot water to cover the t-shirt and still allow it to move freely in the water. Allow the heat to come to almost a boil and keep it there for an hour. Turn off the heat and allow the shirt to sit in the hot water overnight or for a minimum of 3-4 hours.
Remove from water and rinse in cool water. You can then allow the shirt to dry completely or use in its damp state.
Next, lay the tee out flat and sprinkle your botanical material. (Yippee, the FUN part!) Be sure to sprinkle evenly across your shirt, making sure to include the edges.
Next, roll the fabric starting at the bottom of the shirt. Roll tightly until you have a long snake.

You can then spiral in the fabric to create a donut shape. Tie the bundle tightly with string/or rubber bands.

Place the donut in a steamer and allow to steam for 1.5 hours. When it’s finished steaming, allow to cool for at least an hour before opening it up.
Unwrap outside where you can shake off the botanical matter and return it to the earth.
Rinse your shirt thoroughly until the water runs clear using cool water. Allow the shirt to dry out of the sunlight.
You should not wash it for 1-2 weeks to give the color an even better chance of bonding with the fiber, though by all means — WEAR IT!
SUCCESS! You have just created a botanically dyed, one-of-a-kind garment of your own. Now that your shirt is treated, you can dye it as much as you would like. So if the colors shift, or you want to refresh it, just simply add more botanicals and steam.
Voila!

Was this helpful? Have a question? Ask it below!
Xo,
Michelle


Comments